Garden Klutz Friday, Jun 26 2009 

I’m not much of a gardener. I love flowers, but hate having to water, prune, fertilize, whatever all that stuff you are supposed to do. I just pop them in the ground and they better survive and come back next year. (No annuals for me.) I will pull weeds, but that’s about it. Luckily, most of my plants do make it most of the time unless they are consumed by the rabbit herds.  They are fighters, but no one stands a chance against the mighty bunny appetite.

This year we decided to try our hand at growing veggies in containers on our deck. We used containers because our yard is full of those pesky rabbits. They are cute, but they nibble on anything edible. And not edible. They have chewed holes in the wooden lattice underneath our deck. So we went with containers. You can see the start of our gardening in this post.

The thought of crisp, fresh veggies right from our own deck was too pleasing. So we started seeds indoors. Some of them survived, others wilted away. Once it was warm enough, we moved the plants outside. We do water the containers fairly regularly. Ok, hubby waters them anyways. Still we don’t have much to show for our effort. We have some 3 in tall pepper plants. They don’t seem to be getting any taller. I think I have lettuce in this one. I planted a salad mix, but I’m not sure if I have more weeds or lettuce. It looks like lettuce. Of course, I also heard it you leave it too long it gets bitter?

This one is supposed to be celery. I’m not sure what I’ve got going on here besides a nice weed mix:

I did have some success with the herbs I planted although I have yet to use any of them and I’m not sure if I will. One of them is coriander and I don’t even know what that is. It came in a package of herbs so I planted it. I have yet to look up exactly what it is and where to use it. I have some basil, oregano, and chives I might use. I’m not sure if fresh herbs are worth all the work though.

But they at least look nice, right?

I do have some green onions planted that I use all the time. Just snip and go and they grow back super fast. I think next year we will just stick with the grocery store veggies. I think our efforts were in vain. We are garden klutzes.

Outdoor Living Wednesday, Jun 17 2009 

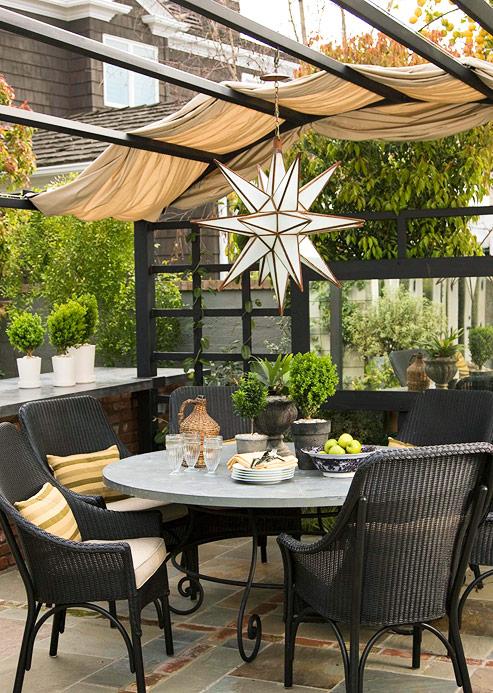
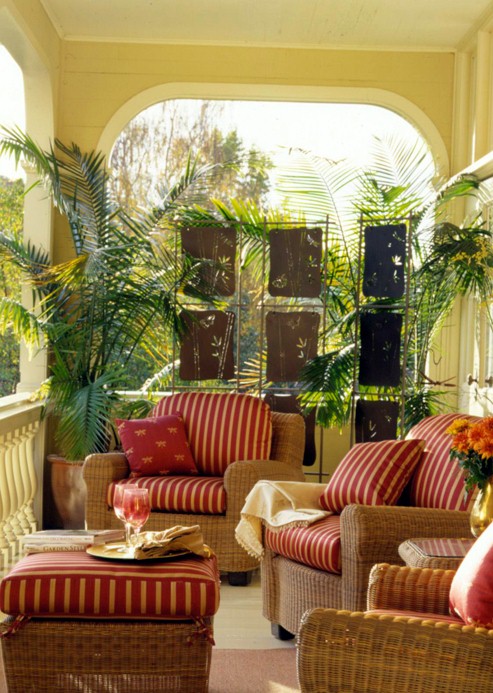
Continuing on with the post from yesterday about adding curb appeal, I thought I’d share a few refreshing porch and patio spaces. One of the things on my wish list for my dream home would be a nice, deep porch with a cozy swing and rocking chairs. I would love a space to curl up with a good book and enjoy the fresh air at the same time. A nice screened in porch or sunroom with a table for dining alfresco would also be a lovely addition.
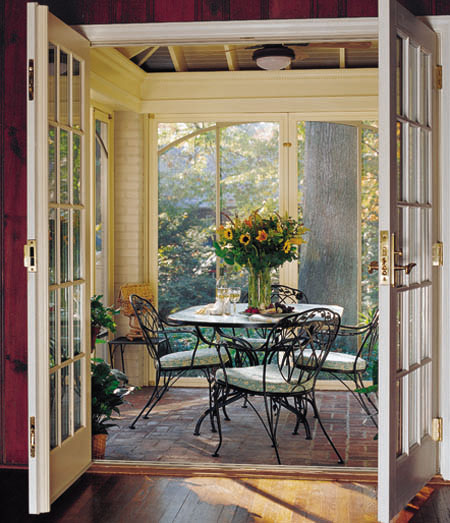
So here are some beautiful outdoor living areas I wanted to share. All are from one of my favorite sites for decorating photos, BHG.com.

outdoorbhg3

outdoorbhg2

outdoorbhg4

outdoorbhg5

outdoorbhg6

outdoorbhg8

outdoorbhg9

Mission Accomplished Tuesday, Jun 16 2009 

Over the weekend we finished up “Project Curb Appeal.”  After another long weekend of scraping, painting,  caulking, and more painting along with trips back and forth to Home Depot (thank goodness it’s close by) we are done with our goal to spruce up the outside of our house. There were some issues along the way like having to repaint the trim because I painted it black and hated it and had to repaint it white.  But now it is all done and I can drive up to our house and think how pretty it looks.

Thanks to everyone for their ideas and opinions on what colors to use. We are very pleased with the result. Or at least I am, I don’t know if hubby cares too much one way or the other as long as I’m happy.  =)

Here’s a reminder of the before with the faded shutters, dated neon green house numbers, overgrown bushes(there are windows back there!) and peeling door and garage paint.

And the spruced up after (pictures are a little off in color, I took them at 8:00 last night after I finished painting and I was losing daylight.):

The bushes got a nice trim although hubby is banned from trimming the burning bushes anymore. I trimmed the one of the left and he did the one on the right(poor bush.) They grow very fast though so hopefully next year it will look alright.

The trim around the garage was replaced and painted black. We took off the tops of the lights on each side of the garage door and removed the glass panels and lightbulb. I spray painted the tops of the lights and painted the rest of the lights without removing them from the house! It was tricky, but I taped plastic around the lights to cover the garage while I was spraying them with black Rustoleum. I only got a little bit of black paint on the brick.

I posted earlier about how I spray painted the shutters. Here’s the post on that.

One of the biggest changes and easiest was putting up different house numbers. I bought the plaque at Home Depot for $25 and the numbers were $5.99 each I believe. The plaque looks so much more elegant the the cheapo green reflective plastic numbers we had before. I wish I had replaced them 4 years ago!

And finally the front door. I used Behr semi-gloss Sly Fox to paint the door and the sidelights. I first painted the trim around the door and windows black, but it looked awful. So I painted them one more time for the last time! (I had already primed them with one coat primer, then added two coats black, and now three coats of white paint.)

We bought a new storm door because ours was about to fall apart and didn’t close right. This one has a screen that rolls up inside of the top of the door. So you can have it all glass like it is now or roll the screen down and have a door with the screen any size you want. We are hoping this well help keep the door from getting too hot since that may have cause our previous front door to warp in just two years. We’re not really sure since steel doors aren’t supposed to warp at all. A nice black antique iron style doormat(it’s really rubber) adds the final touch. It was $9.99 from Garden Rige.

We added several more flowers to try and brighten up the front. Hubby was nice enough to plant those for me along with 6 other bushes along the sides and back of the house. I don’t remember what the yellow flowers are, but the purplish bush is called “wine and roses.” It has bright pink flowers. Everything looks a little scraggly right now, but they will fill in eventually.

So that’s our first before and after and we will have many more to share as we continue on down the road of home improvement. A road that never ends.

Be sure to check out more outdoor and garden projects by visiting or joining the Garden Party on A Soft Place to Land.


Ways to Welcome Monday, Jun 15 2009 

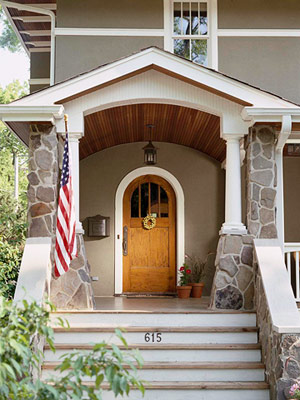
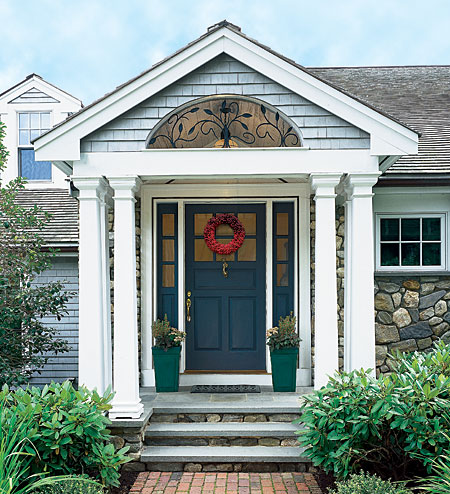
After another crazy weekend of painting, scraping, caulking, and more painting, we are almost done with out outdoor curb appeal project. I would have been done except that I painted the trim around the door black and I hate how it looks. So now I have to repaint the black paint white. Ugh, I’m mad at myself for choosing the wrong color and having to paint again. But that’s how it goes with home improvement projects, they don’t always turn out how you expect. Until I have the final pictures to post, here are some lovely front entries to browse.

This Old House

This Old House


BHG

BHG


BHG

BHG

BHG

BHG

BHG

BHG

BHG

BHG


This Old House

This Old House


Project Curb Appeal is Underway Tuesday, Jun 9 2009 

We spent most of the past weekend working on “Project Curb Appeal.”   After some major bush trimming we set to work on changing the color of those horribly faded green shutters.  After researching it online, I found most people said not to paint vinyl shutters or if you did to use some kind of special expensive paint I’ve never heard of. Well I figured spray paint can be used on about anything and worse case, the shutters are only $40 a pair if I had to replace them. So I decided to go for it. Here’s how it all worked out.

1. First have hubby or other significant male other with muscles rip shutters off house. Or summon your woman power and do it yourself. Ours were attached with plastic screws and pulled off fairly easily. Don’t worry if you break any of the screws, Home Depot and Lowe’s sell replacements next to the vinyl shutters they sell.

2. Watch for wasps and other critters living behind shutters Run and scream after hubby tells you to move “Now!” while wasps fly out after you disturbed their nest. Spray wasps with bug killer and watch them flop to the ground.

3. Clean off shutters. I used a bucket of water with a little Dawn mixed in to get all the dirt and gunk off. Wait for shutters to dry completely.

4. Break out the spray paint. I used some  black rustoleum spray paint that said it would stick to vinyl for the shutters. The can didn’t list vinyl as an acceptable surface, but a little pamplet next to the spay paint did say it could be used on vinyl. The can has a nice trigger too so no sore fingers from painting.   That paint is some nasty stuff though. I probably should have worn a mask or something, because it really hangs in the air and travels. I had it all over my feet and my throat hurt and I was coughing afterward. It’s incredibly sticky too, my flip flops were sticking to the floor.

5. Apply even thin coats and allow a few minutes to dry between coats. I used 3 cans on paint on 4 shutters so if you have a lot of shutters, this could start to get a little expensive since I think the paint was $6 a can. But I was very happy with the end result.


Then it was time to work on the trim around the garage that was rotted on either side of the door opening.

After another trip to Home Depot, we left with 3 cans of paint and 2-2×8 boards for the garage. Hubby ripped off the trim on the side of the garage, I scraped silicone  caulk off the sides while he cut the boards down to fit.  When he held them up to check that they fit, we discovered that they weren’t as wide as the old boards had been. A 2×8 measures 7-1/4″ in width, but the old boards were 7-1/2″ wide. So I’m not sure what kind of lumber they were using before, but we will have a little bit of green paint and caulk that shows because the boards are not as wide.

I primed the boards and then hubby put them up. He got a little carried away with the screws and I had to remind him that you don’t needs as many screws as compared to nails. He added fresh caulk all around the edges. The caulk says to let it dry for 7-14 days before painting, or until it dries clear. We are hoping that is sooner than 7-14 days so I can get that trim painted all the way. Now it is the old green color on top and white primer on the sides.

The final project of the weekend was painting the front door.  We had to replace the front door last week because our old one was warped. Steel doors aren’t supposed to do that and it was only 2 years old, but luckily they refunded us our money when we brought back the old, warped door.

I found a nice red color called Sly Fox at Home Depot. It’s not too bright and not too orangey either. It’s an exterior semi-gloss by Behr. I knew red often takes many, many coats of paint, so I was pleasantly surprised when it only needed three coats. The last coat was  more of touch-up, the first two coats covered it pretty thoroughly.

I just need to touch up a little around the knob and deadbolt.

So later this week we have to scrape paint on the outside sidelights on each side of the door, add more caulk, then paint away the outside. I’m still trying to decide if I want to do white or red on either side of the door. I guess I’ll prime and see if I like it white, if not then it also becomes red.


Shutter Shenanigans Friday, Jun 5 2009 

Ok everyone, I need your help again. Our front door was warped so we replaced it. The orignal door was green like everything else. We are going to replace the shutters because they are so faded and the trim around the garage is rotting so that has to go also. So I have the opportunity to change the colors of everything if I want. I just need help figuring out which colors. My hubby likes it all with the green, but I kinda like the red or the red/black combo.

The door can be pretty much any color but black because it bakes in the afternoon sun and I don’t want anything too dark. Shutters are limited to stock colors or black, white, blue, dark red, burgundy, or dark green.

Here’s our house now: (Please ignore the overgrown bushes, that’s on hubby’s honey-do list to trim them back. I sooo wish the previous owners hadn’t planted these huge bushes that block the windows and overtake the walkway.)

home2

Here it is how it would look with newer, brighter green shutters and door:(The green rectangle to the left of the garage is where our ugly green house numbers are, they are also on the list to be replaced.)

home2green

Or red shutters, door, and garage trim(trim is black is this picture, but would match the shutters)

home2redred

Or black shutters and red door:

homeredblack

In the last two pictures, I also changed the color of the lights on either side of the garage from white to black. I may try to paint them or else they are getting changed out as well.

Here’s a few other close up pictures if that helps:

home3

home4

The Great Outdoors Monday, Jun 1 2009 

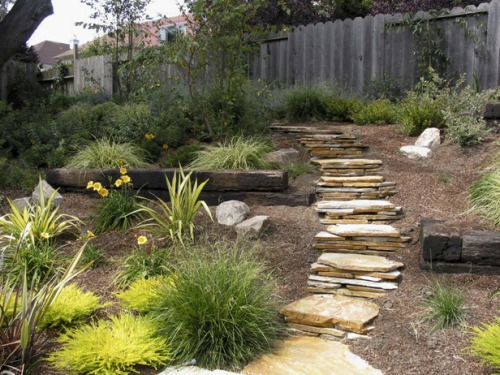
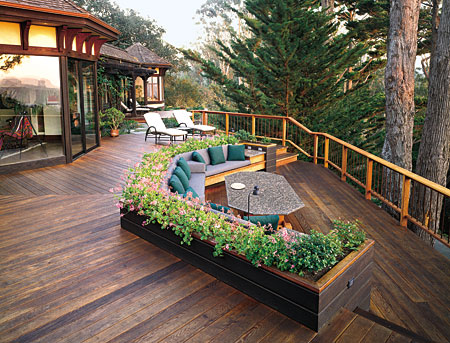
I came across some lovely outdoor dining areas, gardens, and decks to share. Some of these are just amazing and look so cozy. The perfect spot for dining outdoors or just curling up with a good book.

HGTV

HGTV


HGTV

HGTV


HGTV

HGTV


thisoldhouse.com

thisoldhouse.com


thisoldhouse.com

thisoldhouse.com

thisoldhouse.com
thisoldhouse.com


Pottery Barn

Pottery Barn


thisoldhouse.com

thisoldhouse.com


thisoldhouse.com

thisoldhouse.com

Lovely Lilies Wednesday, May 27 2009 

I’m so excited to see that my asiatic lilies have started to bloom. I just planted them this year and I thought they wouldn’t bloom until summer, but two of the four plants are bursting with color.

farm 005

So far this seems to be a plant the rabbits don’t nibble on. Unfortunately, they appear to love phlox because they have all disappeared. Here’s a member of the guilty party. Don’t be fooled by the cute face.

farm 007

Anyone else have to fight the rabbits with their garden?

Join the Club Friday, May 22 2009 

If you haven’t signed up for Home Depot’s Garden Club it’s worth joining. They send e-mail newsletters every month with coupons for fertilizer, weed killer, and other products. Last year they even had buy one get one free plant coupons, and I’m hoping they will repeat that. Either way, its a way to learn more gardening tips, the right plants for your region, and even save a little money in the process.

hd

Gardening Galore Tuesday, May 12 2009 

We’ve been working on making our backyard look more lived in. We added rock all around our house several years ago, but never planted hardly anything. Most of what we did plant was gobbled away by the rabbits. (We have a bit of a rabbit infestation in our neighborhood.)

So we finally planted some more plants. We put azaleas on the side of the deck. (The bare spots to the left will eventually be filled in with a flagstone path since nothing will grow there.)

In the front of the deck we added some lilies to fill in for the grasses the rabbits muched away. They left two of the grasses on the right so we’ll see if they hold up.

At the back of the house next to the deck, we added several more hostas and a dwarf lilac bush. We have one giant hosta we planted a few years ago that really needs to be divided and probably moved. This guy has gotten so huge!  He’s overtaking the hosta next to him. I know we should have done this when they first started to come up, but we put it off and before we knew it we had a monster hosta.

Yikes! He really dwarfs the other hostas. 

The peppers, celery, lettuce, spinach, and herbs we started from seed are sprouting up on the deck.  If all goes well we will put in a larger garden next year. Rabbit-proofed of course.

And finally I wanted to show off the table and chairs we added to our deck. We’ve lived here four years and never had a table and chairs outside. My mother-in-law gave us this table. The legs were rusty so I sanded them down and sprayed on a couple coats of Rustoleum. We picked up a couple chairs at Garden Ridge for $25 each and now we are ready to dine in the great outdoors.

So that’s what we’ve done so far to spruce up a little in the backyard. I still need to plant more flowers and bushes (I’m open to suggestions on what to plant.) Next year will require some major deck repair and painting, but for now I’m trying to make the deck a little more cheerful.